 1
11
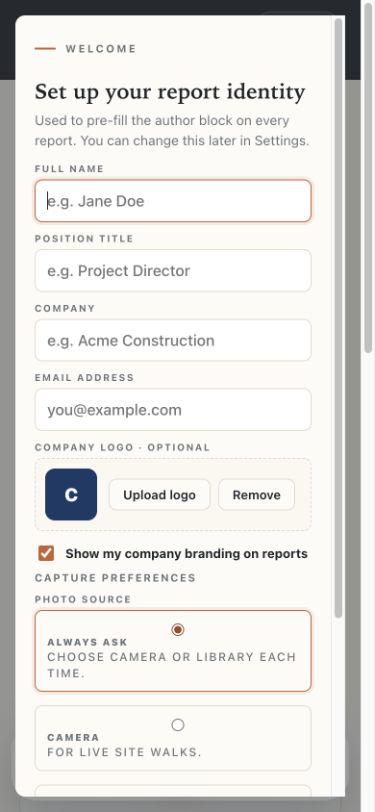
Add your report identity
Type your name, role and company, then press “Save & continue”.
SOR uses these details on the prepared-by block. Add a logo only if you want company branding on the report.
Add the details SOR reuses, make the first project and choose how photos should open.
You can change your identity, logo, areas, contractors and photo preference later.
1Type your name, role and company, then press “Save & continue”.
SOR uses these details on the prepared-by block. Add a logo only if you want company branding on the report.
 2
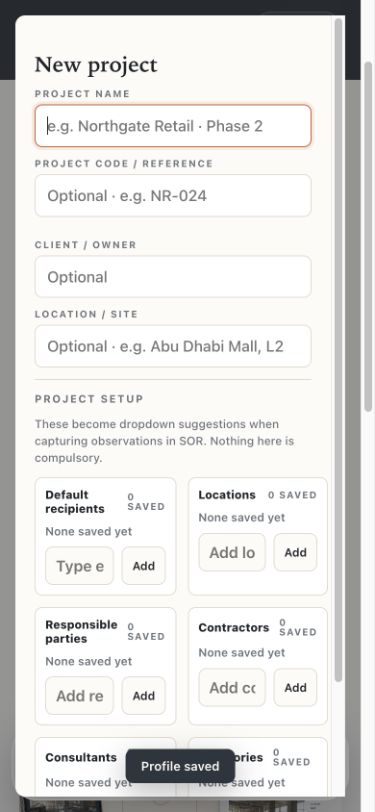
2Press “New project”, then add the project name.
Code, client and location help identify the report, but they can be filled in later.
 3
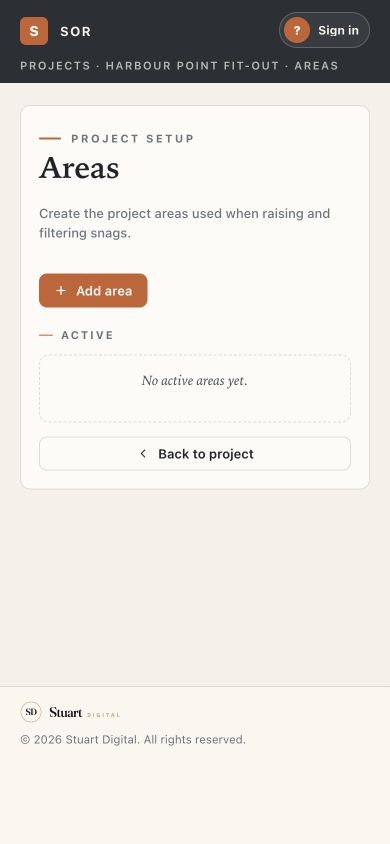
3Project → Areas or Contractors → press “Add”.
Saved names appear as quick choices while you record an observation, so the same location and company names stay consistent.
 4
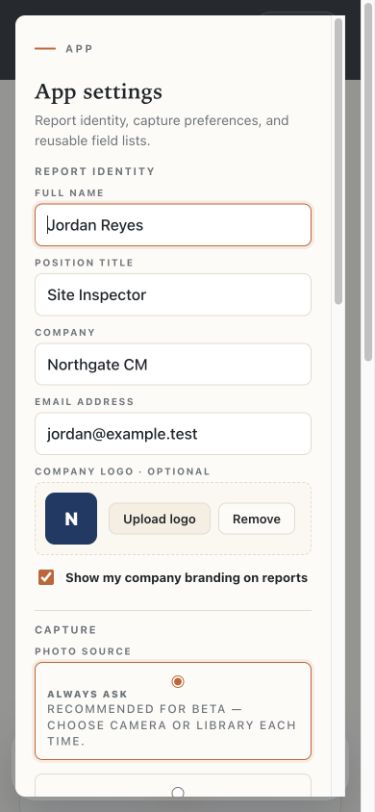
4Settings → App settings → Capture.
Keep “Always ask” if you switch between the camera and photos already on the device.