 1
11
Start the report
Open the project and press “New site walk”.
Use “New snag walk” only when the visit is specifically for defects and closeout tracking.
Start the report, add each observation with its photos, then check the set before you issue it.
Take the photo, add one plain-English sentence, choose the observation type and save.
1Open the project and press “New site walk”.
Use “New snag walk” only when the visit is specifically for defects and closeout tracking.
 2
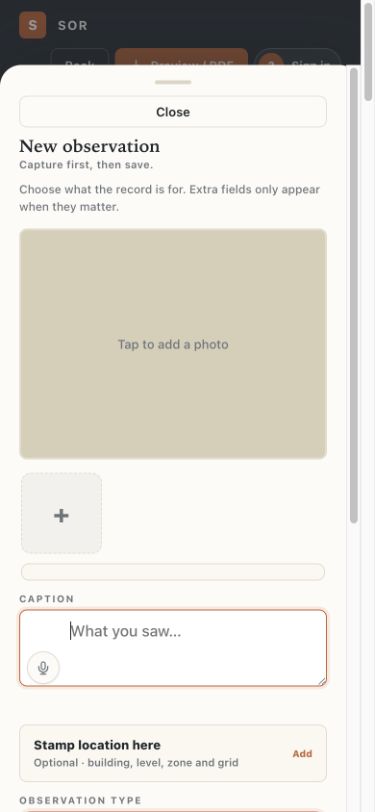
2Press “Add observation”, then tap the photo box.
Take a photo or choose one already on the device. Write what you saw in one direct sentence.
 3
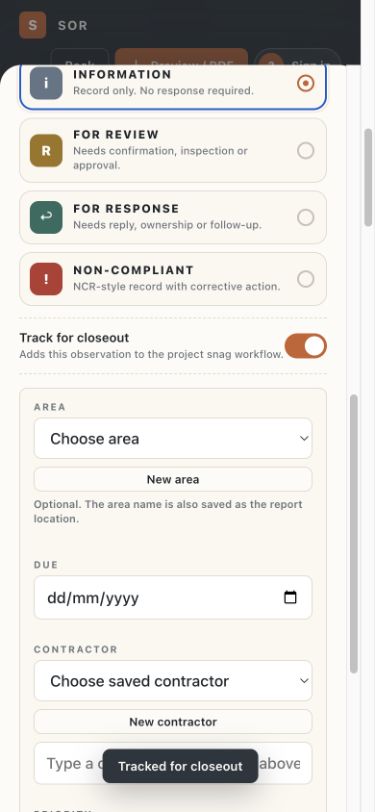
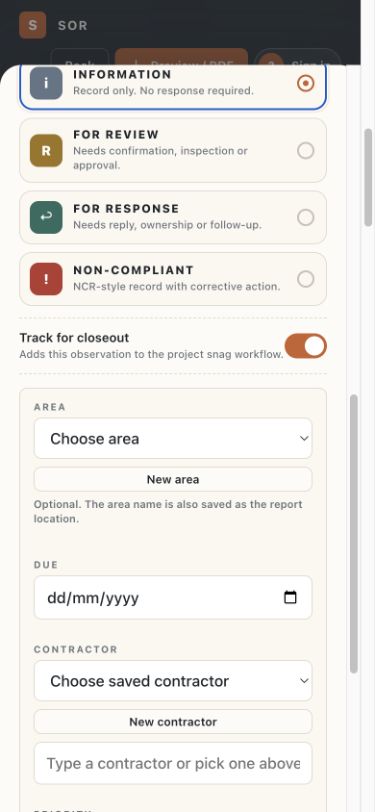
3Choose Information, For Review, For Response or Non-Compliant.
Switch on “Track for closeout” when the item must stay in the project Snags register until it is verified.
 4
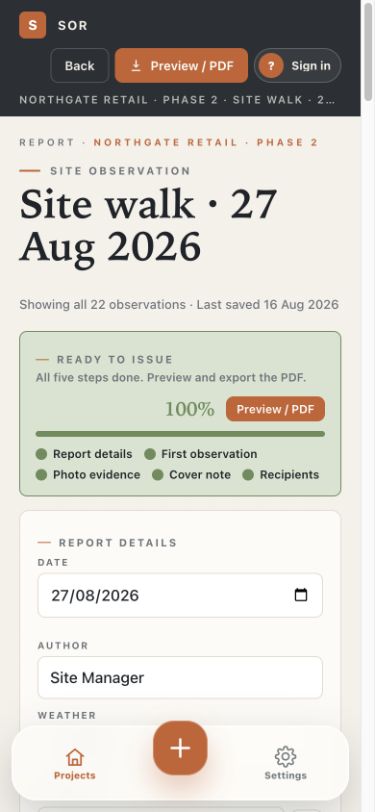
4Check the progress card, recipients and observation list.
When all five checks are complete, press “Preview / PDF”.